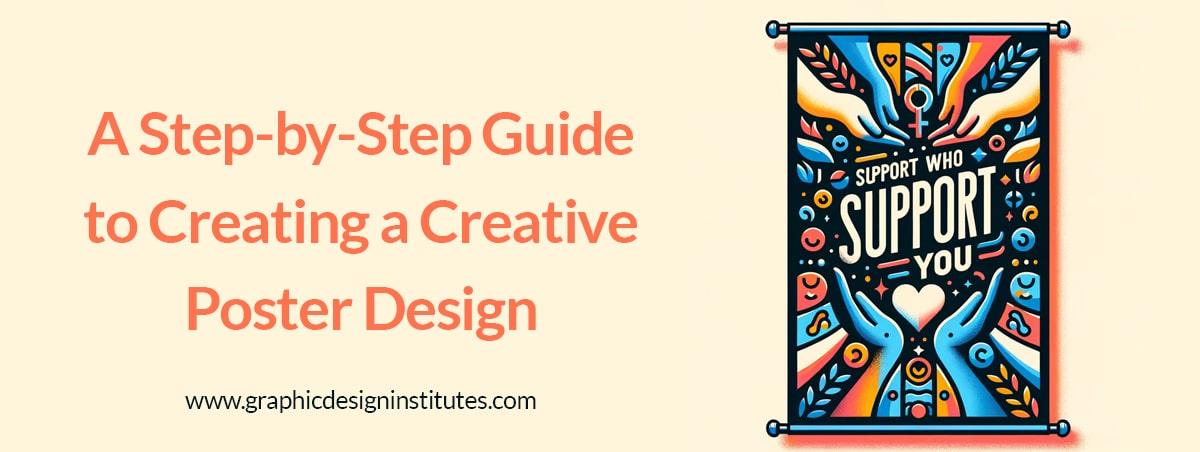
A Step-by-Step Guide to Creating a Creative Poster Design
Creating a creative poster design involves a structured process that allows for artistic freedom while ensuring the final product effectively communicates its intended message. Here’s a step-by-step guide to help you through the poster design process:
1. Define the Purpose and Audience
- Purpose: Determine the main goal of the poster. Is it to inform, persuade, advertise, or entertain?
- Audience: Identify your target audience. Understanding their demographics, interests, and preferences will guide your design choices.
2. Research and Gather Inspiration
- Research: Look at existing posters within your genre to understand trends and effective design elements.
- Inspiration: Create a mood board with colors, typography, images, and layouts that inspire you. Tools like Pinterest or Behance can be useful.
3. Brainstorm Ideas
- Concepts: Generate multiple concepts that align with the poster’s purpose and audience.
- Sketches: Create rough sketches of your ideas. This helps in visualizing the layout and composition.
4. Choose a Color Scheme
- Colors: Select a color palette that evokes the desired emotion and is appropriate for the message and audience. Tools like Adobe Color can help in creating harmonious color schemes.
5. Select Typography
- Fonts: Choose fonts that are readable and match the tone of your poster. Limit the number of different fonts to maintain a clean design.
- Hierarchy: Establish a typographic hierarchy to guide the viewer’s eye through the poster. Typically, headlines should be bold and larger, subheadings slightly smaller, and body text smaller yet.
6. Create the Layout
- Grid System: Use a grid system to organize the layout. This ensures balance and alignment.
- Focal Point: Establish a focal point to grab attention, such as an image or a bold headline.
- Flow: Arrange elements to guide the viewer’s eye in a logical flow.
7. Incorporate Imagery and Graphics
- Images: Use high-quality images that support the message. Ensure they are relevant and compelling.
- Graphics: Add illustrations, icons, or other graphics that enhance the design. Avoid clutter and maintain focus on the main message.
8. Add Text and Content
- Content: Place your text, ensuring it is concise and to the point. Use bullet points or short sentences to improve readability.
- Alignment: Align text and images consistently. Pay attention to spacing and avoid overcrowding.
9. Apply Finishing Touches
- Contrast: Adjust contrast between text and background for readability.
- Balance: Ensure visual balance by evenly distributing elements.
- Details: Add final touches like shadows, gradients, or textures to enhance depth and interest.
10. Review and Refine
- Feedback: Get feedback from peers or target audience and make necessary adjustments.
- Proofreading: Check for any spelling or grammatical errors.
- Consistency: Ensure all design elements are consistent with the intended message and style.
11. Print and Digital Preparation
- Resolution: Ensure the poster is in high resolution (300 DPI for print).
- Formats: Save the poster in appropriate formats (PDF for print, JPEG/PNG for digital).
- Bleed and Margins: Include bleed areas and margins for print to avoid any trimming issues.
12. Final Review
- Test Print: If possible, do a test print to check colors and alignment.
- Adjustments: Make any final adjustments based on the test print.
By following these steps, you can create a poster that is not only visually appealing but also effectively communicates its intended message to the audience.


